How to Make 3 Pound Double Voice Crackers
Double-voice crackers (DVCs) are effectively a mortar shot without a mortar tube. You can pump these out really fast, and have aerial effects in no time! In this article, we are going to use flying fish fuse for the fuse you light, the internal time-delay fuse, and the burst effect “stars”. Bring your best black powder to this project! These little crackers work best with HOT and FAST black powder. Low-grade BP makes for sluggish performance, and only sends the payload up a couple tens of feet into the air. For this example, we are using GOEX FFF black powder.
Workspace needed:
Sturdy table and concrete floor
Tools:
Mallet
Small wood block
Hot glue gun with glue sticks
Drill gun with 3/32" bit
Measuring spoons
Sharp #2 pencil
Scissors
Sharpie
A quarter ($0.25)
Small funnel
Shop brush and dustpan
Pyro supplies:
3 Pound Double Voice Cracker Tool Set
3 Pound Double Voice Cracker Tube
HOT Black Powder. Many ways to make it, plenty of resources on Skylighter. You can’t make DVCs without BP!!
Flying fish fuse (3/32" diam): GREEN, RED, SILVER

INSTALLING THE TIME-DELAY CLAY PLUGS
The most complicated part of making these crackers is pressing clay plugs into the tubes that hold a time-delay fuse in the center of each cracker. This is what we use the shiny aluminum tools for!
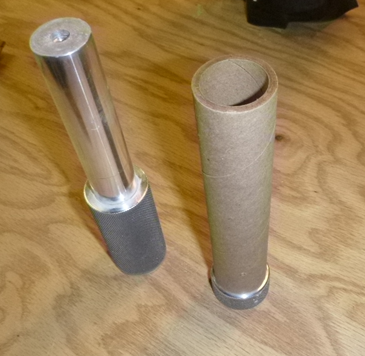
A DVC cracker tube fits easily over the base spindle
The fuse hole in the base spindle is large to accommodate different sizes of fuse. For the flying fish fuse, cut off 2" fuse, and then make a diagonal cut about 1/2" up from this.
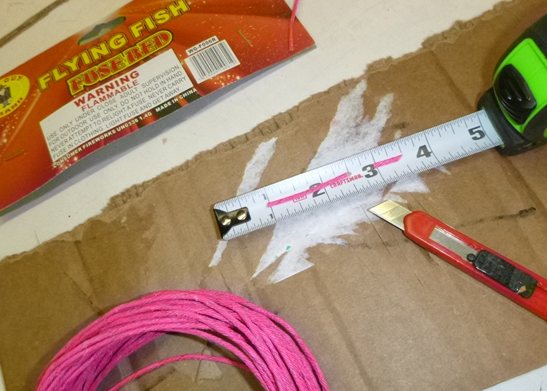
You should have two pieces of fuse - a short one and a long one. Put them together side-by-side in your fingers with the diagonal cut ends sticking out, and insert them into the fuse hole in the shorter base spindle. This helps the longer piece sticking out to stick up straight. Make sure the fuse is sticking straight up!

Use a drill and a 3/32" diameter bit to drill a hole for the fuse of each double voice cracker you want to make. Drill the hole 1" from one of the ends of the tubes. This end is where the lift charge goes.
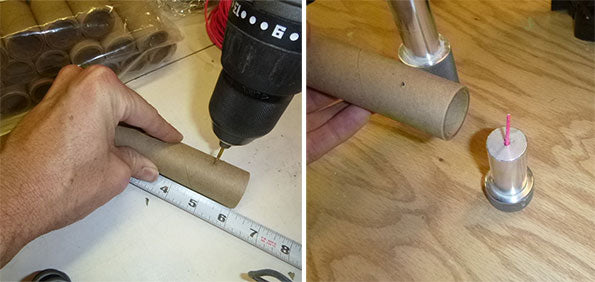
Now, slide the cracker tube over the short base spindle with the fuse side down - you should feel some friction on the tube as it hits the fuse hole. Slide it all the way down to the base. Take a look down the tube to make sure the fuse is sticking up straight.
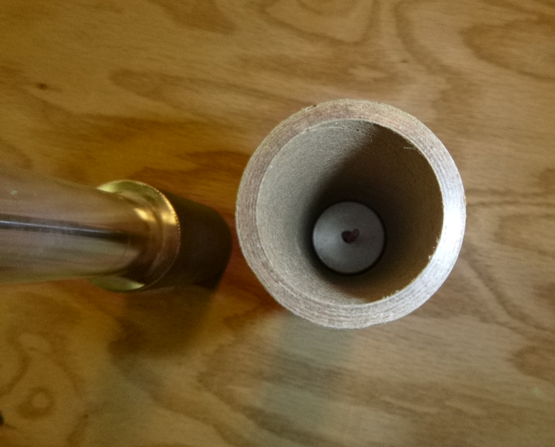
Make sure the fuse sticks up straight in the tube!
MAKING THE CLAY BULKHEAD TIME-DELAYS
Using a measuring spoon set, add 2-1/2 level teaspoons of clay powder into the tube. Tap the tube and base a few times on a sturdy table to settle the clay, then slide the drift down the tube until it stops gently onto the clay. Press lightly, then remove the rammer to check that the fuse is still sticking up straight in the tube.

Slide the drift back down into the tube, and place the assembly with the base spindle on a wood block, with concrete floor underneath. Smack the drift with a mallet or dead blow hammer several times. Lightly at first to get some of the air out of the clay powder, then finish it off with a few hard whacks.
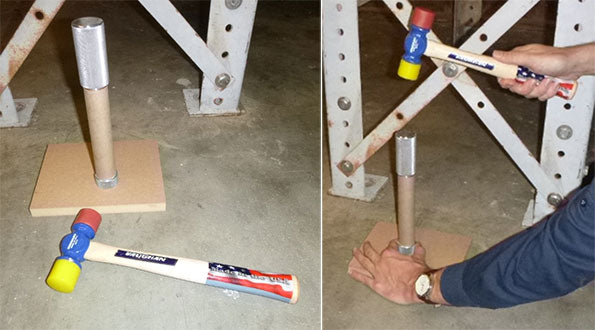
OK, we now have our clay bulkhead with the fuse in middle made inside the cracker tube just where it needs to be. Remove the top rammer from the cracker tube and slide the cracker tube up off the base spindle. Gently tap any extra clay out of the tube that didn't get compacted. The little 1/2" piece of fuse should fall out too. You can save this piece to add into the payload later if you'd like.
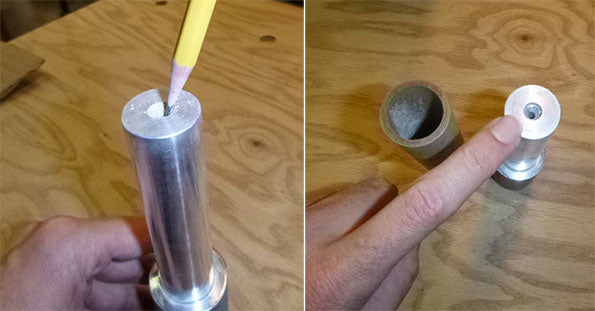
Make sure to clean off any clay remaining in the little fuse hole on the end of the rammer. A Pencil works really well, and marks the aluminum countersink with a little graphite for better lubrication to release more clay as you make more cracker tubes with this tool.
MAKING THE CARDBOARD END CAPS
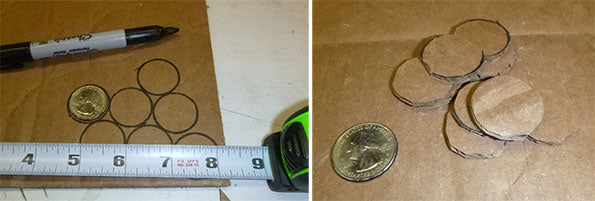
Next, cut out a bunch of 1" diameter circular cardboard cutouts. You can use the shipping box your supplies came in from Skylighter as cardboard stock. An easy way to trace out the circles is to use a quarter ($0.25) as a guide, and a sharpie on the cardboard. You'll need two discs per cracker. Use scissors. If you have a 1” hole punch and a hammer, that will work even faster.
MAKING THE LIFT CHARGE SECTIONS
Start heating up the glue gun. Cut at least a 3" length of fuse for the time delay, and insert it into the base of the cracker tube, about half-way in.
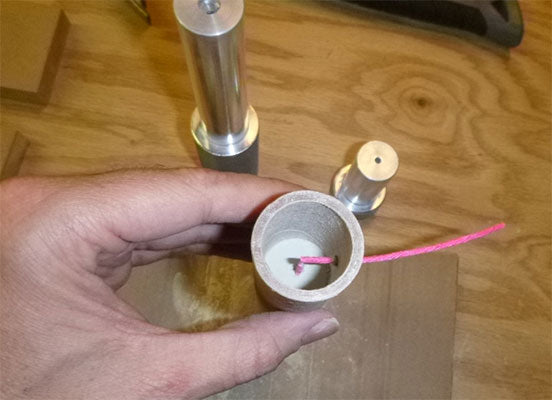
Put a small dab of hot glue around this fuse, and let it cool.
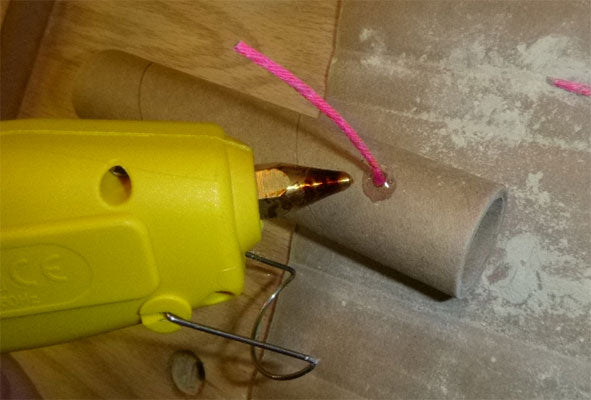
You can repeat this for the other two colors as well. The color of the fuse will identify the effect you are loading into each cracker!

Once the glue dabs cool and harden, flip the tubes over and load the small cavities with BP using a little funnel so you don't make a mess.
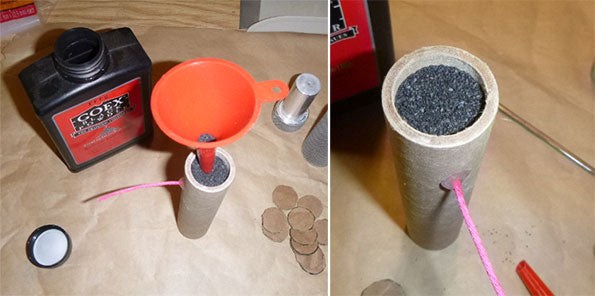
Load the BP up most of the way, leaving ~1/4" or so empty length to squeeze a cardboard cap onto the lift charge and seal it in there with hot glue.
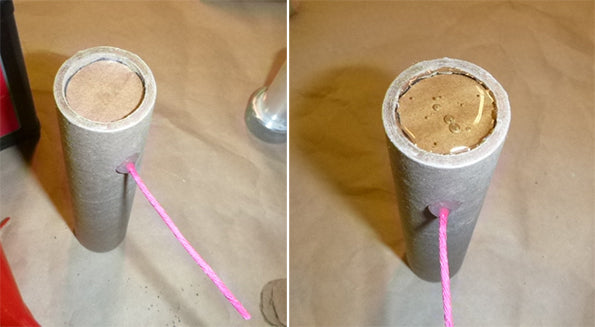
Make sure to not overfill with hot-glue! You want the tubes to stand up straight on the ground, so you don't want a big blob of hot glue on this end of the tube. Just enough to have it level off and make a flat seal, as shown below.
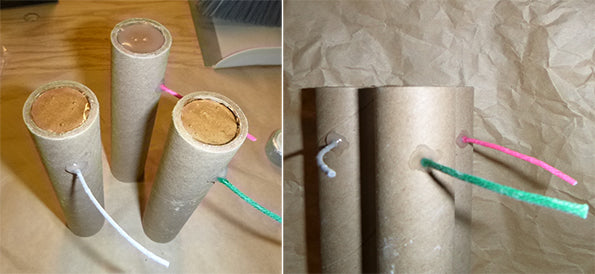
Once the hot glue cures solid, the tubes are ready to be flipped over and loaded with payloads. An advantage of using hot glue here is that it makes the bottom lift charge water-resistant too, so you can launch them quickly in the rain or on dewy ground!
MAKING THE PAYLOAD SECTIONS
For simplicity of this cracker article, we will use flying fish fuse as the burst effect and the same BP as the burst charge. The cracker we will fill here uses red flying fish fuse, and will be loaded into the tube with the red fuse sticking out. This way, we won't get our effects all mixed up once the crackers are loaded.
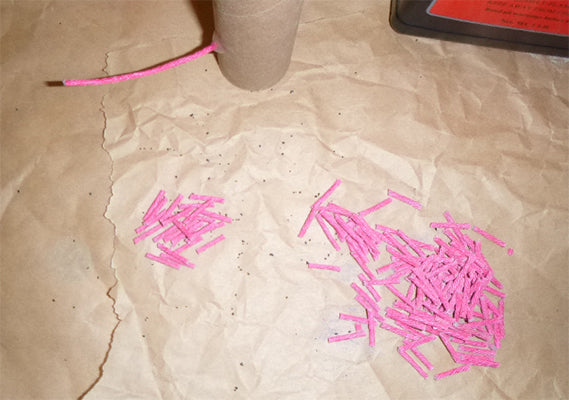
An efficient way to cut many pieces of fuse into equal lengths is explained in the Flying Fish Fuse Mine article, written by our friend Ned, here:
Cutting the Fuse into 3 and 4-Inch Lengths
You can use the cutters he shows in the article, or you can use a utility knife over a piece of cardboard for the same result, shown here:
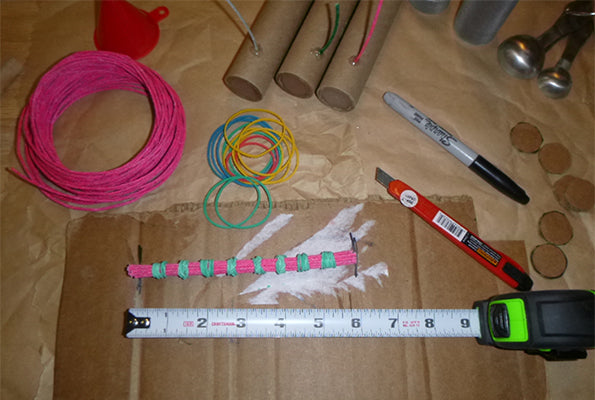
Since this is a somewhat low-altitude effect, we chose ~5/8" fuse lengths to get a lot of pieces of fuse in there, and obtain a good density of colored flying fish effect in this burst.
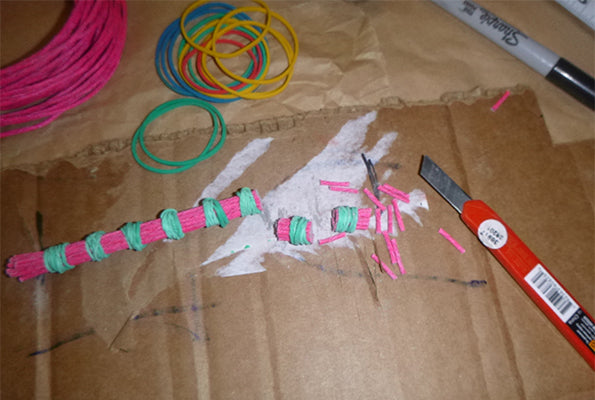
In this example, we used 15 pieces of red flying fish fuse cut to 6" length. These were bundled up with rubber bands spaced apart equally (~5/8" give or take), and cut using a utility knife.
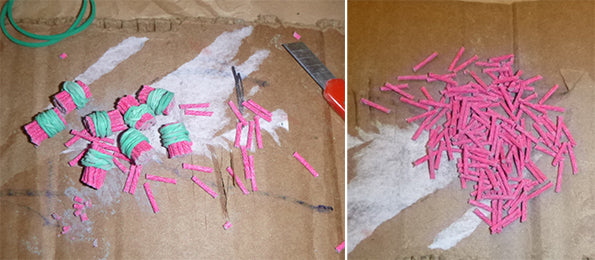
Once all the pieces of fuse were released from the rubber bands, we ended up with about 150 little pieces of flying fish fuse. That makes about 150 "stars" per burst charge!
To load up the burst charge of the cracker, add a tsp of BP.
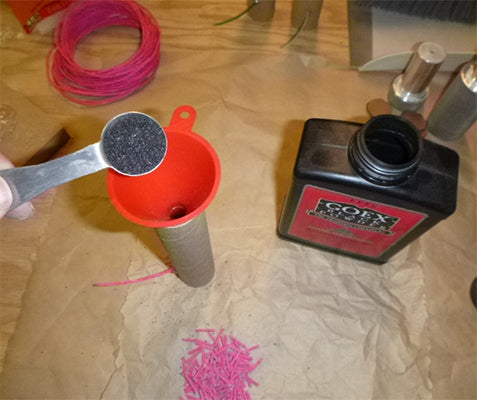
Next, pile up your fuse pieces on a piece of kraft paper, and add two Tbsp of BP over this and mix it up.
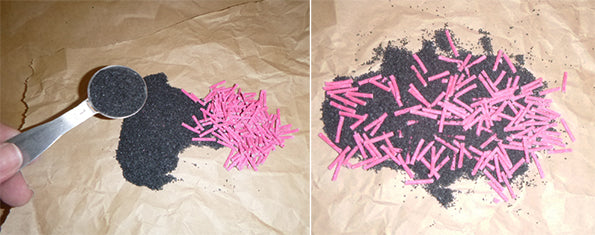
Pour it into the tube.
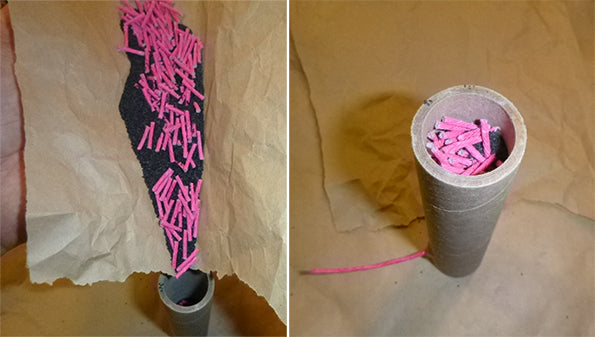
Finish it off with a tsp of BP, press a cardboard cap into the top of the burst.
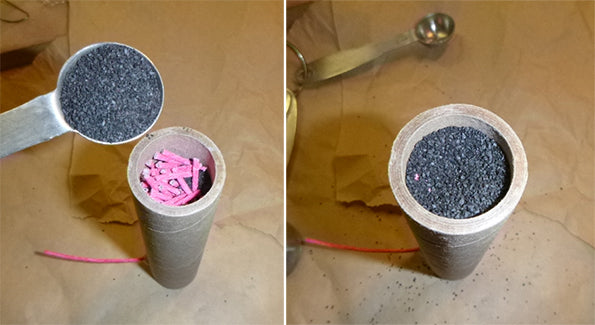
Fill the remaining space with hot glue to plug it up good.
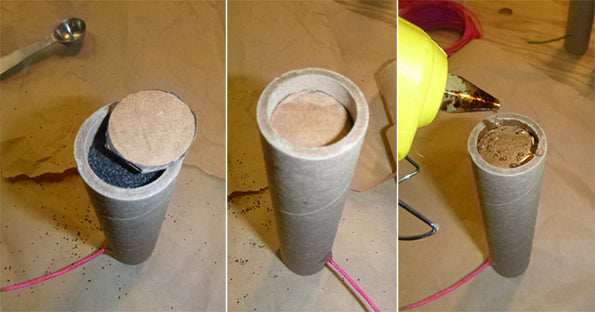
You can do the same for the other effects, shown here.

Let them cure solid, and you’ve just made some DVCs!!
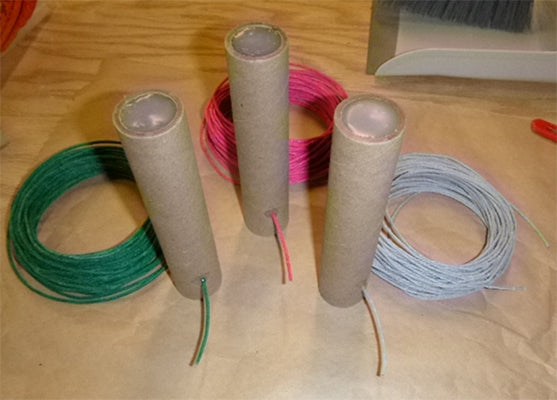
FINAL DOUBLE VOICE CRACKERS
Once the glue is cooled and hardened, you're ready to fire them off! These are pretty cool devices since they start with blowing out the bottom lift charge, propelling the cracker up into the air. A couple seconds later - BOOM! A burst up above with red, green, or silver flying fish fuse squiggling around in the sky! Effectively, a mortar shot without the mortar tube left behind! Pretty neat, huh?
